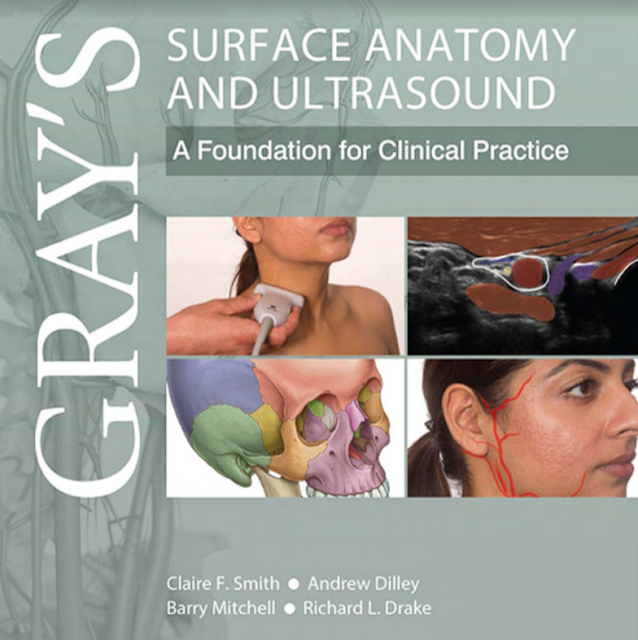
Gray’s Surface Anatomy and Ultrasound,- Claire F. Smith
About this book
This book has been designed to offer you the greatest flexibility for your learning. We recommend you start with the introduction chapter, but from there you can move on to whatever region of the body is of interest. In each chapter, we have detailed the surface anatomy first followed by ultrasound.
This text is not a full descriptive textbook, and we have only described the anatomy relevant to surface anatomy and what is seen with ultrasound. We therefore recommend other Gray’s titles for further detail. Within each chapter there are To Do boxes.
We recommend that you undertake the activities in these boxes, since they provide a practical approach to learning anatomy that is directly relevant to clinical practice. To Do tasks include the identifica- tion of surface features, the drawing of structures and palpa- tion. Use the surface anatomy photographs to assist with locating landmarks. Some palpations can take time to feel, and you may find it helpful to palpate different volunteers to observe normal variation.
All of the surface anatomy illustrations were initially drawn on the models and then computer enhanced during publica- tion. Only tweaks were drawn on afterwards (Fig). This approach was taken because we wanted to demonstrate that all of the illustrations are possible and are based on real surface landmarks that can be felt and located. We used the figures in the text to enable us to write the To Do boxes. By doing so we have demonstrated that all these tasks are
Fig. A, Photograph of our drawings during production of the scapula and associated muscles. B, Final illustration of the scapula and associated muscles.
possible. Your drawings are not meant to be pieces of artwork. Instead they are creating a road map of important surface features.
Drawing equipment
To undertake the drawings, we used children’s face paints, a couple of paintbrushes, a cup of water and some baby wipes.
Ultrasound
Each ultrasound section provides details of the transducer to use and where to position the transducer, as well as a description of the structures that should be visible. It is important to note that in some individuals, these structures will be easier to see than in others.
Both body size and fat content make a difference. The descriptions in this book are only a starting point. It is important to spend time scan ning over the region of the body that you are examining to build up a picture of the underlying topography. If you cannot find a specific structure, try tilting, rocking or rotating the transducer. Not all anatomical structures that can be seen on ultrasound are detailed in this book.
As long as a structure is not obscured by bone, it should be possible to find. An exciting feature of ultrasound is the ability to view anatomy and physiology in action. If you are looking at a muscle or tendon, try moving a limb; if you are looking at blood vessels, use the Doppler function, if available, to visualize the flow of blood.
Consent
It is imperative that in working with colleagues to practice palpation, percussion, drawing and ultrasound that the correct level of consent is in place, that subjects are not made to do anything they do not wish to and that they feel comfortable at all times. Where possible, we have kept the models’ clothes in the pictures as they would be during ateaching session to assist with demonstrating how much surface anatomy needs to be exposed for the particular region.
Be aware that incidental findings may occur during your sessions and these should always be followed up by routine medical appointment. Working with colleagues offers a fantastic opportunity to practice good communication skills, for example in describing to your colleague what you are going to do: “I am just going to gently press on your shoulder. Please say if it hurts.”


No comments:
Post a Comment